
DPI stands for “Dots Per Inch,” and it’s a measure of how sensitive your mouse is. The higher the DPI, the less you have to move your physical mouse to make the cursor travel across the screen. On a high-performance mouse like the Logitech G502, being able to adjust your DPI is a key feature that provides a significant advantage in competitive gaming and precision tasks.
Tuning the sensitivity of your gaming mouse is essential for peak performance, and the Logitech G502 makes it easy. If you’re wondering How to Change DPI on Logitech G502, this guide will walk you through the process, from using the on-mouse buttons for quick adjustments to customizing your settings with the powerful G HUB software. Master your mouse’s sensitivity to perfectly match your needs for gaming, graphic design, or everyday use.
What is DPI and Why Does it Matter?
DPI is a crucial setting because it directly impacts the speed and precision of your mouse movements. For a gamer, a lower DPI is often preferred for first-person shooters (FPS) as it allows for more accurate, fine-tuned aiming. Conversely, a higher DPI is better for games like MOBAs or for general desktop use on high-resolution monitors, as it lets you move the cursor across a large screen with minimal effort. Finding the right DPI is all about balancing speed and control for your specific needs.
Methods to Change DPI on Logitech G502
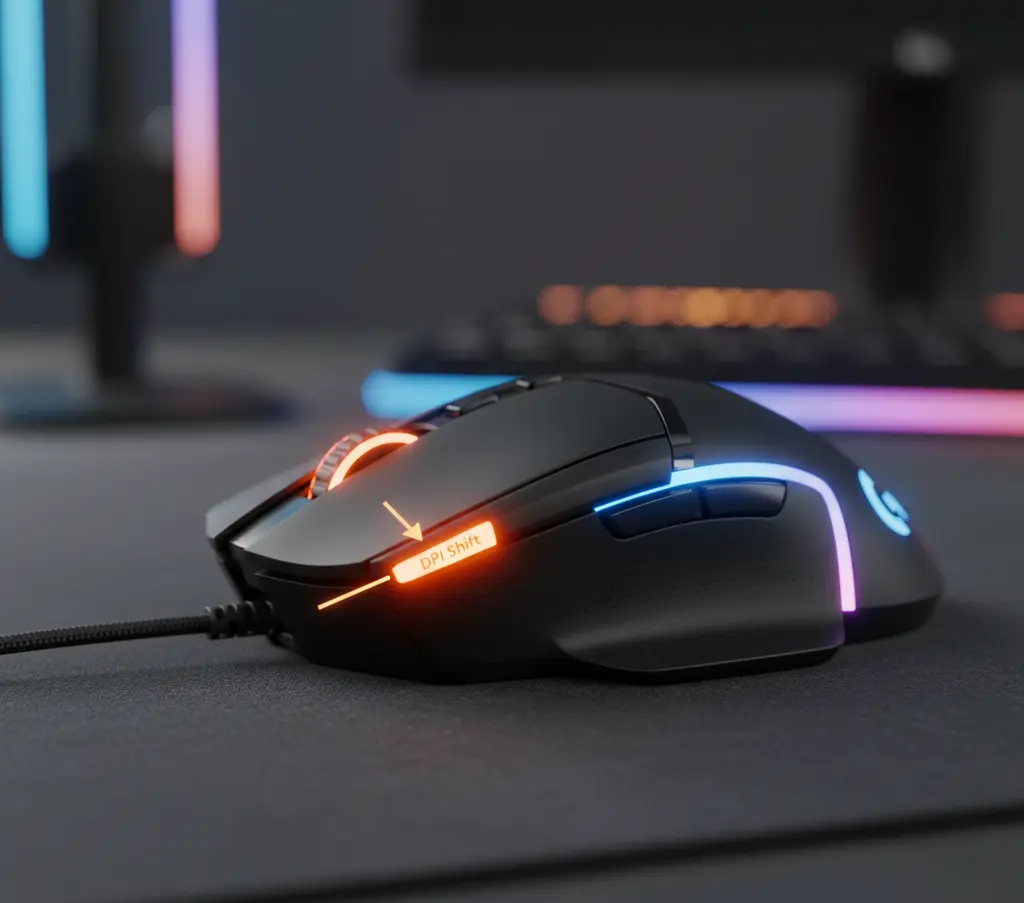
The Logitech G502 has dedicated DPI Up and DPI Down buttons, located to the side of the left-click button, which allow you to cycle through pre-set DPI levels on the fly. You can also press and hold the DPI Shift button (the “sniper” button on the thumb rest) to temporarily drop to a very low DPI for precision aiming. For more extensive and permanent customization, you must use the Logitech G HUB software.
Step-by-Step: Customizing Your DPI with G HUB
- Download and Install G HUB: If you don’t have it already, download the Logitech G HUB software from the official Logitech website.
- Open G HUB: Launch the application. The software should automatically detect your G502 mouse.
- Select Your G502: Click on the image of your mouse on the home screen.
- Go to Sensitivity Settings: In the left-hand menu, select the “Sensitivity” or “DPI” tab.
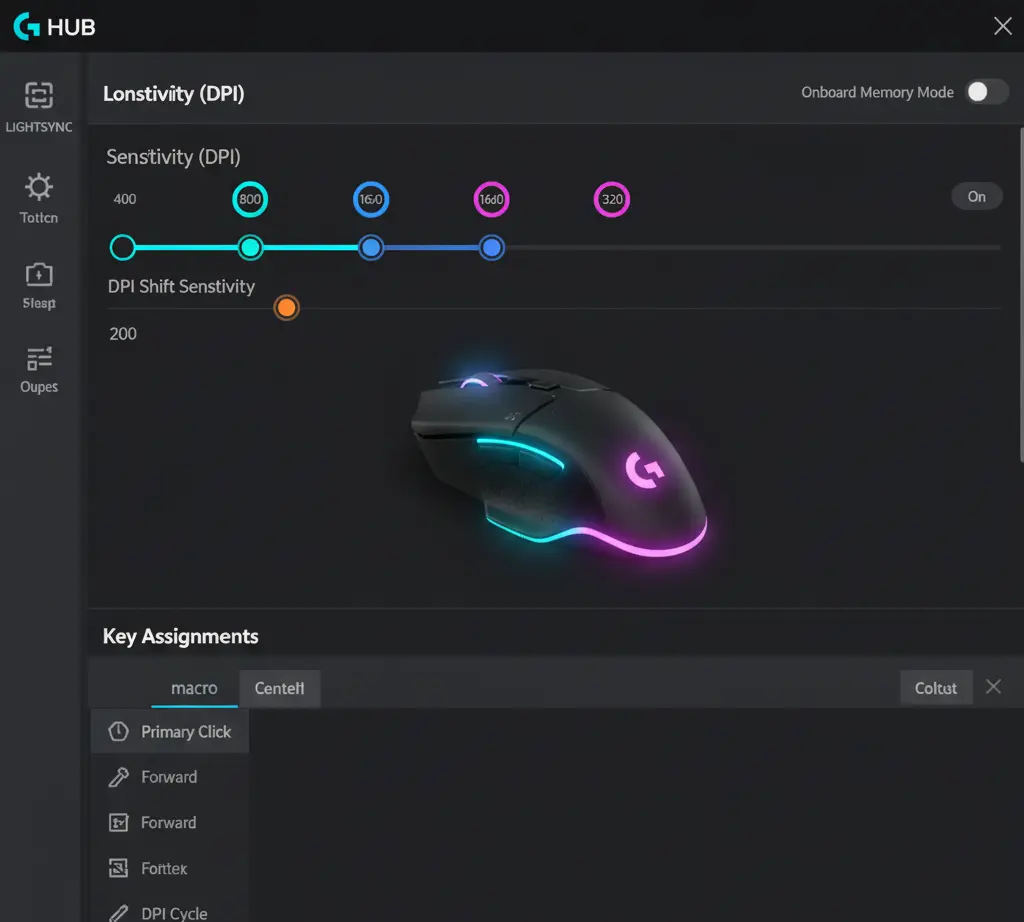
- Adjust Your DPI Levels: You’ll see a horizontal line with several dots representing your DPI levels. The underlined dot is your current active setting. You can:
- Add/Remove Levels: Click anywhere on the line to add a new DPI level. You can delete a level by dragging its dot vertically down and off the line.
- Change DPI Value: Double-click on any dot to manually type in a new DPI value.
- Set DPI Shift Value: You can also set a specific DPI for the DPI Shift button. This is the orange dot on the sensitivity line and can be customized to whatever value you prefer for “sniper” moments.
- Save to Onboard Memory: Once you have your desired settings, you can save them directly to the mouse’s onboard memory, allowing you to use your custom DPI profiles on any computer without needing the software installed.
How to Create Game-Specific Profiles

One of the most powerful features of the G HUB software is the ability to create and link profiles to specific applications. This means your mouse can automatically switch to your preferred DPI settings the moment you launch a game.
- Go to the G HUB Home Screen: Click the home icon at the top of the G HUB window.
- Add a Game or Application: In the top-left corner, click the “Add Game or Application” button. G HUB will scan your computer for installed games. If your game isn’t listed, you can manually browse for the executable file (.exe).
- Customize the New Profile: Once you’ve added the game, a new profile will appear on the G HUB home screen. Click on this profile to customize the settings specifically for that game.
- Set Your DPI: Navigate back to the “Sensitivity” tab and set the DPI levels you want to use for that specific game (e.g., 400, 800, 1600 DPI for an FPS game).
- Link to the .exe: The profile is now linked to the game’s executable. When you launch the game, your G502 will automatically switch to these custom DPI settings. When you close the game, it will revert to your default desktop profile.
This feature saves you from having to manually switch profiles and ensures you’re always using the optimal settings for what you’re doing.
Recommended DPI Settings for Gaming
While personal preference is key, here are some widely used DPI ranges for different game genres:
- FPS (First-Person Shooters): Most pros use a lower DPI, typically 400-800 DPI. This allows for large, sweeping arm movements for big turns while still providing high precision for headshots.
- MOBA & RPGs: A medium DPI of 800-1600 is a good balance for these genres, which require both precision for selecting targets and quick movement for navigating the screen.
- General Use/Productivity: For everyday tasks on a high-resolution monitor, a DPI of 1000-2400 is often more comfortable as it reduces the physical effort required to move the cursor.
How Windows and Game Sensitivity Affects DPI
Your mouse’s DPI is only one part of the equation. Windows and in-game sensitivity settings also play a big role. It’s generally recommended to turn off mouse acceleration in your Windows settings and in-game settings for consistent, predictable aiming. To find your ideal sensitivity, many gamers use a measurement called eDPI (effective DPI), which is calculated by multiplying your mouse’s DPI by the in-game sensitivity. For example, 800 DPI with 1.0 in-game sensitivity gives you an eDPI of 800. A lower eDPI is generally preferred for competitive FPS games.
Pros & Cons of Logitech G502
| Pros of Customizing DPI | Cons of High DPI |
| Improved Aiming: Tailor sensitivity to your playstyle. | Unwanted Cursor Jitter: At extremely high DPIs (e.g., >4000), the sensor can pick up minute, unintentional hand movements, causing the cursor to “jitter.” |
| Increased Efficiency: Use a higher DPI for productivity and a lower one for gaming. | Less Control: High sensitivity can make it difficult to perform precise, small movements. |
| On-the-Fly Control: Switch between different settings with the dedicated DPI buttons. | Requires Large Mousepad: Lower DPI settings require a bigger physical area to move the mouse for a full 360-degree turn in a game. |
Final Thoughts
Customizing the DPI on your Logitech G502 is an essential step to getting the most out of this powerful gaming mouse. By using the Logitech G HUB software, you can create a personalized experience that will enhance your performance in games and your efficiency in everyday tasks.
FAQ for Logitech G502
Q1: What is the default DPI on the G502?
A1: The Logitech G502 HERO has a default DPI range that typically includes 1200, 2400, 3200, and 6400 for its high-DPI profile, with 2400 as the default value. These can be adjusted.
Q2: Can I change DPI without G HUB?
A2: You can cycle through the pre-set DPI levels using the on-mouse buttons, but you cannot change the values of those levels without the G HUB software.
Q3: What is the “sniper button” for?
A3: The “sniper button” (DPI Shift button) on the G502 is designed to temporarily lower your DPI to a pre-configured value, which is perfect for precise aiming in a game, like when using a sniper rifle.
Q4: How many DPI profiles can I save?
A4: You can save multiple profiles in the G HUB software, and the Logitech G502 HERO can store up to five profiles in its onboard memory.
Q5: Is higher DPI always better?
A5: No, higher DPI is not always better. While it increases cursor speed, it can also decrease precision. The “best” DPI is the one that provides the optimal balance of speed and control for your specific use case.
Q6: What is eDPI?
A6: eDPI, or effective DPI, is a measure of your true mouse sensitivity in-game. It’s calculated by multiplying your mouse’s DPI setting by the in-game sensitivity setting.
Short Conclusion
By taking the time to understand and customize your DPI settings, you can unlock the full potential of your Logitech G502. With the versatility of the G HUB software and the convenience of on-the-fly DPI buttons, you can easily adapt your mouse to any task and achieve the level of control you need.
If you have any questions about “How to Change DPI on Logitech G502: A Complete Guide,” Then feel free and let us know through your comments.


